Paint 3D is indeed a very exciting tool provided by Paint 3D. It lets you create different pictures, posters, banners or shapes etc. You can even edit your existing pictures using this tool. In this article, we will explain to you the method through which you can rotate and resize the objects in Paint 3D.
Rotating and Resizing the Objects in Paint 3D
In order to rotate and resize the objects in Paint 3D, you will need to perform the following steps:
Type Paint 3D in the search section of your taskbar and click on the search results to launch the Paint 3D window. The newly opened Paint 3D window is shown in the following image:
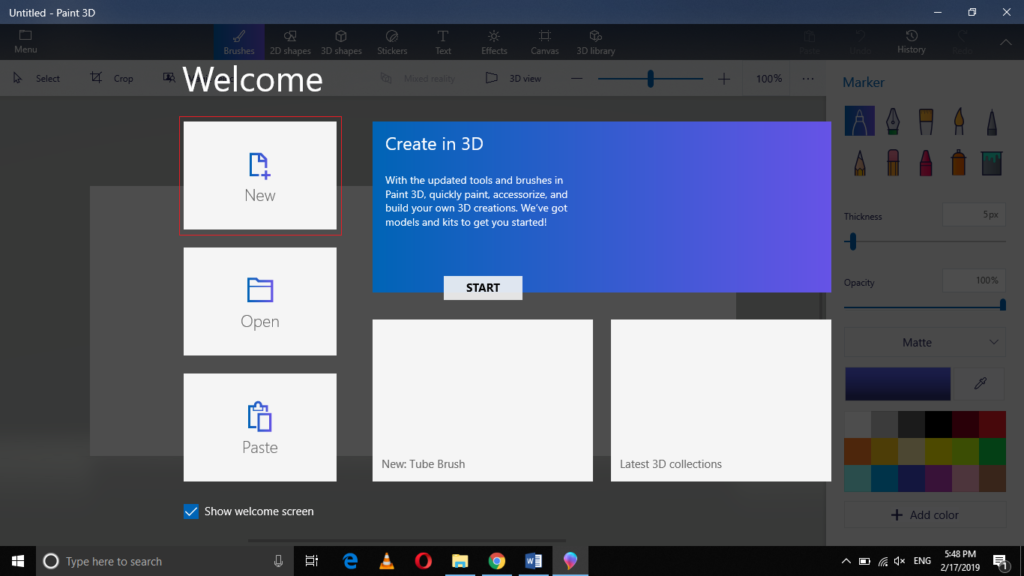
Click on the New icon in order to create a new Paint 3D project as highlighted in the image shown above. It is shown in the image below:
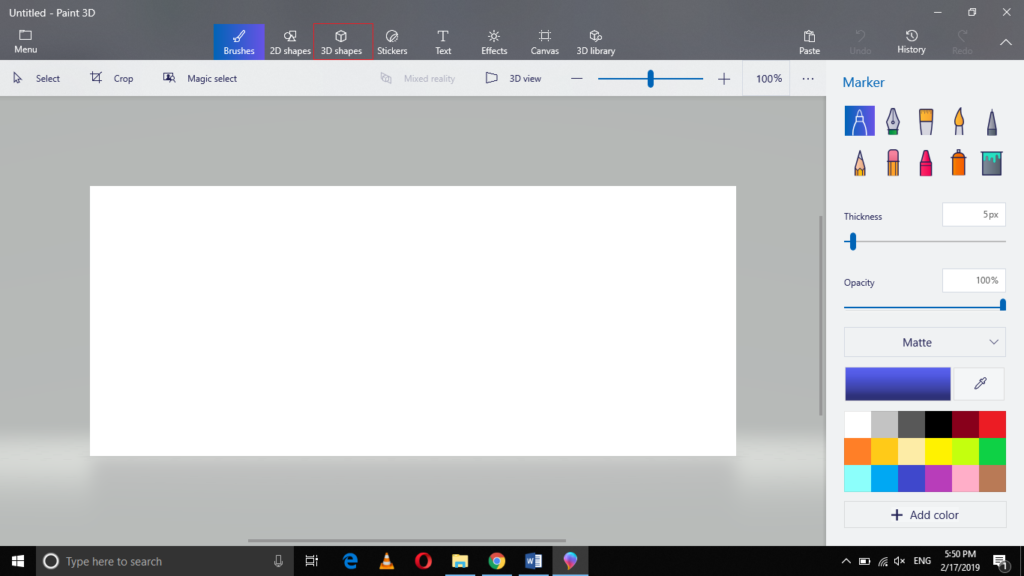
Now click on the 3D Shapes icon from the menu bar of the Paint 3D window as highlighted in the image shown above.
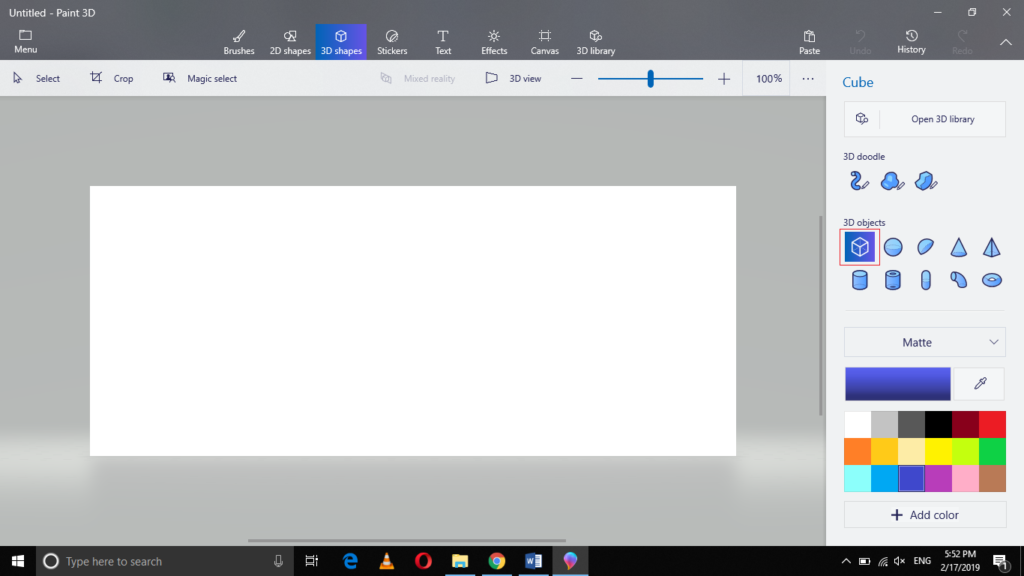
Select any 3D shape from the 3D Objects list by clicking as highlighted in the following image:
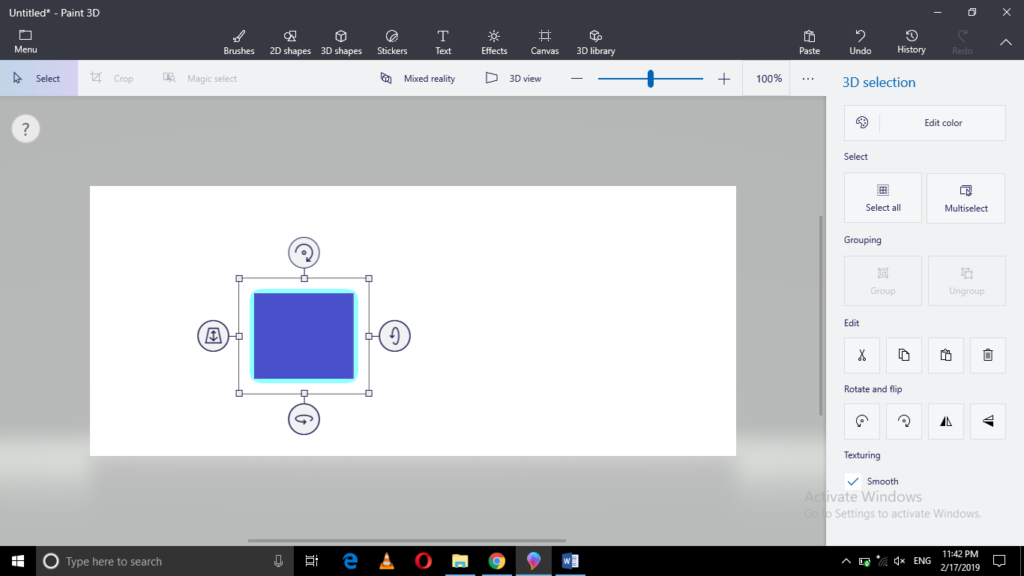
Now drag the cursor across the canvas in order to draw your 3D shape as shown in the image below:
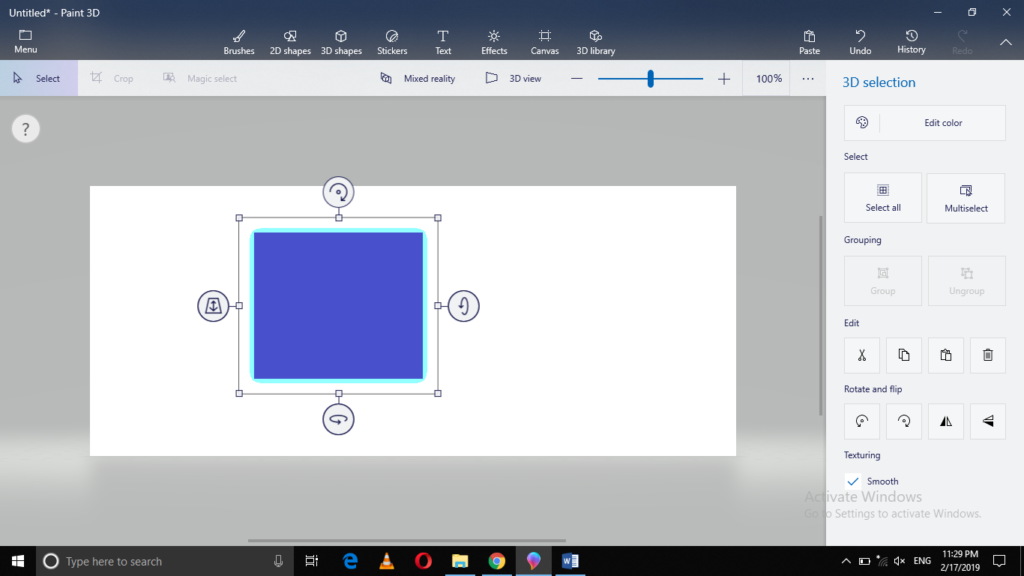
In order to rotate your 3D object click on any of the semi-circle icons located at the edges of your shape as highlighted in the following image:
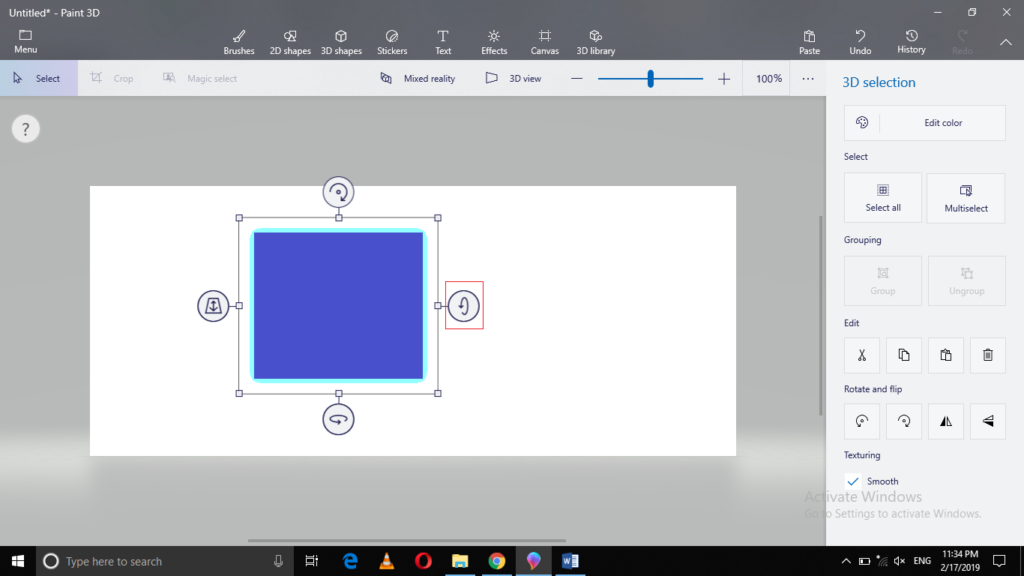
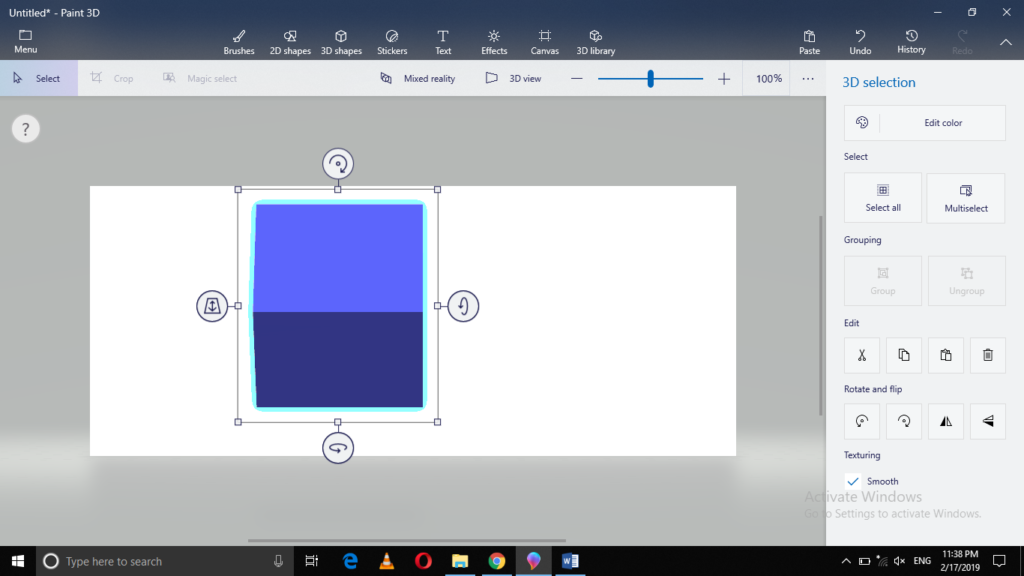
As soon as you will do this, your 3D object will immediately be rotated as shown in the image below:
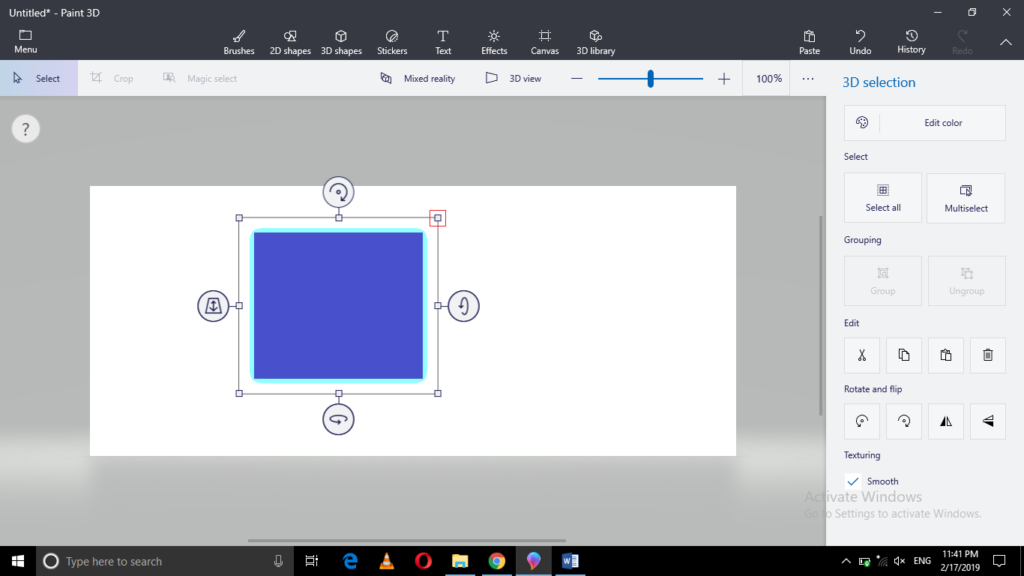
In order to resize your 3D object, click on any of the squares located at the corners of your object and then drag them towards inside or outside as highlighted in the following image:
As soon as you will do this, your 3D object will automatically be resized as shown in the image below:
Conclusion
By following the method discussed in this article, you can easily rotate and resize the objects in Paint 3D using Windows 10 and make these objects and shapes look catchier. This method is quite simple and convenient to use and by following all the steps correctly, you can get your work done in just a few seconds.
