In this post, I'll show you how to setup WDS when there is a separate DHCP server running on the network. This guide assumes you have already configured a DHCP server with an active scope.
Prerequisites
Your machine should meet the following requirements before WDS is configured.
- Administrator account has a strong password.
- Static IP is configured.
- Latest windows updates are installed.
- Firewall is turned off.
Installing Windows Deployment Server
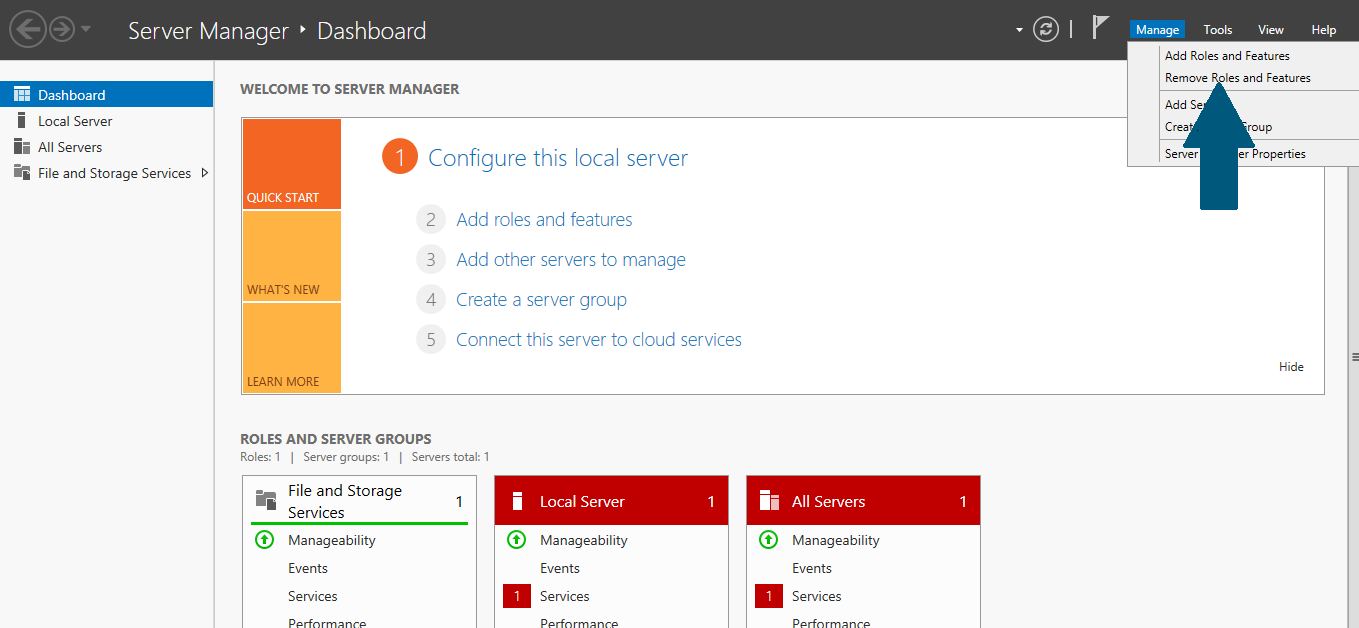
Step 1: Open the Server Manager Dashboard from the task bar. Click Manage and scroll to Add Roles and Features. Click on Add Roles and Features.
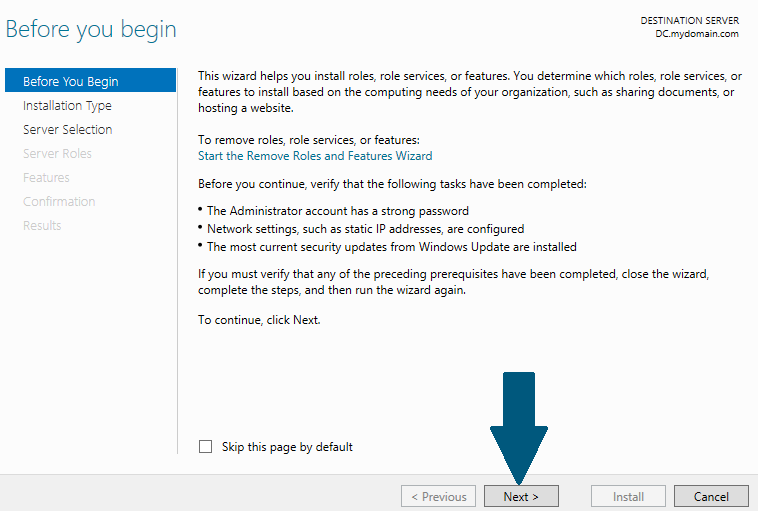
Step 2: Read the important notes and make sure you fulfill all of them before you continue. Then click Next.
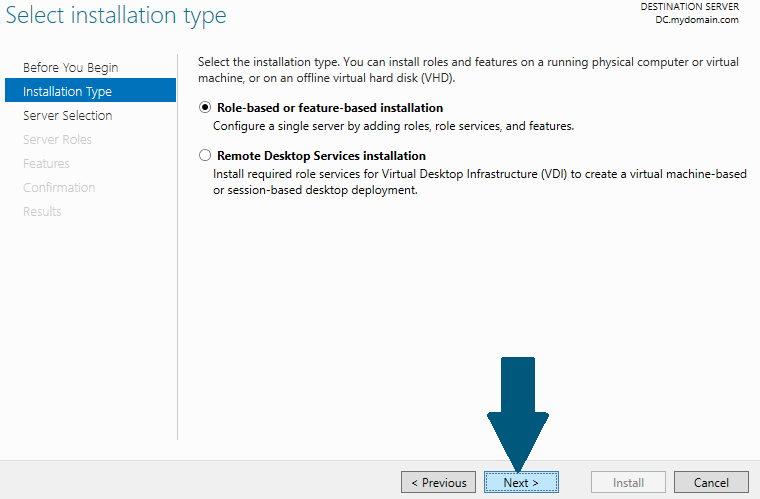
Step 3: Choose Role-based or feature-based installation and click Next.
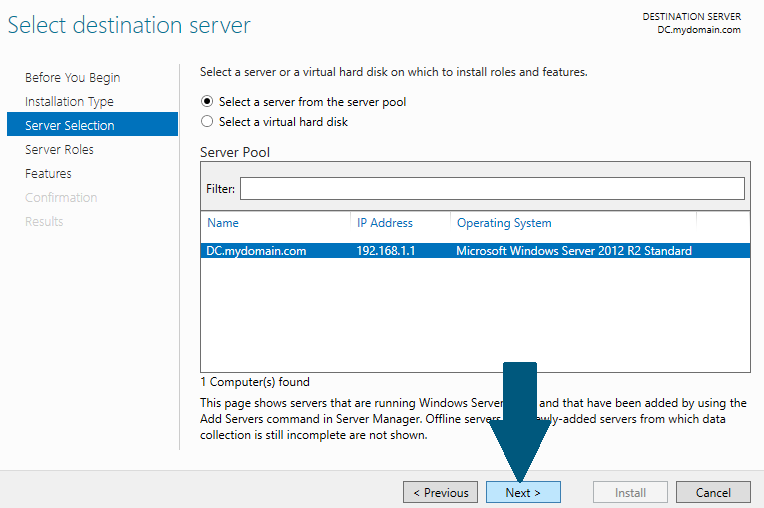
Step 4: Select the destination server on which you want to install to WDS role and click Next.
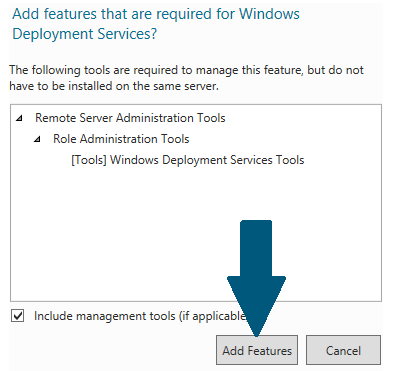
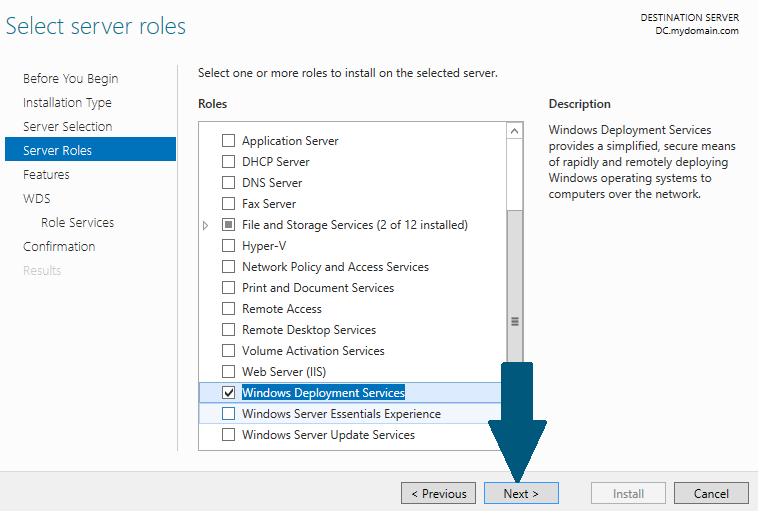
Step 5: Choose Windows Deployment Services from server roles. As soon as you mark the check box, another small window will pop up alerting you to install other required features as well along with WDS. Click on Add Features.
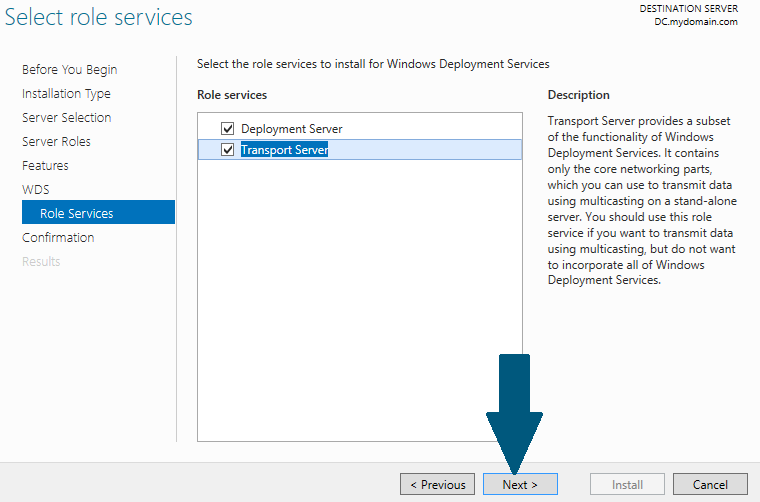
Step 6: Server roles, click Next to proceed.
Step 8: Note down the related notes and click Next.
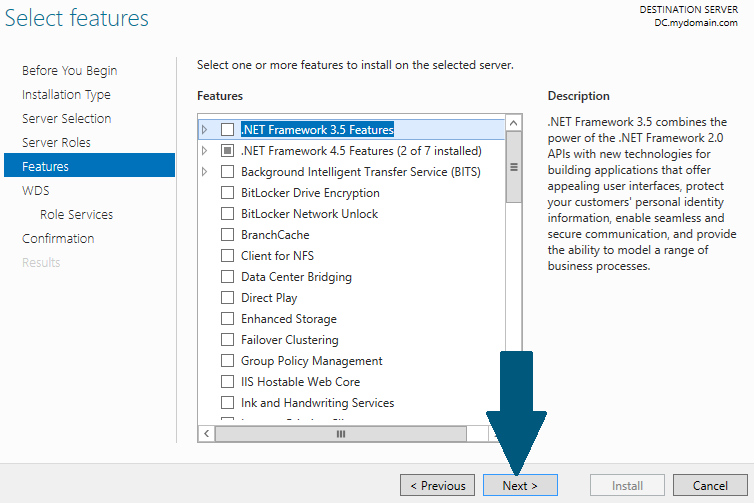
Step 9: Keep default selections and click Next.
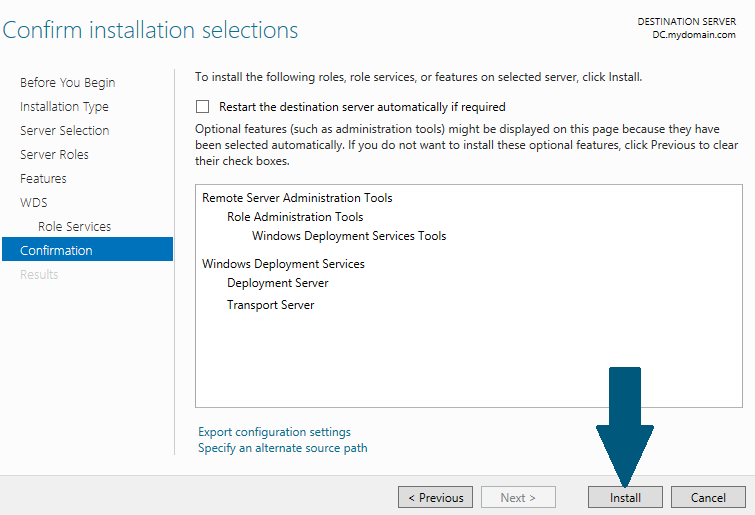
Step 10: Confirm your installation selections and when you are done, click Install.
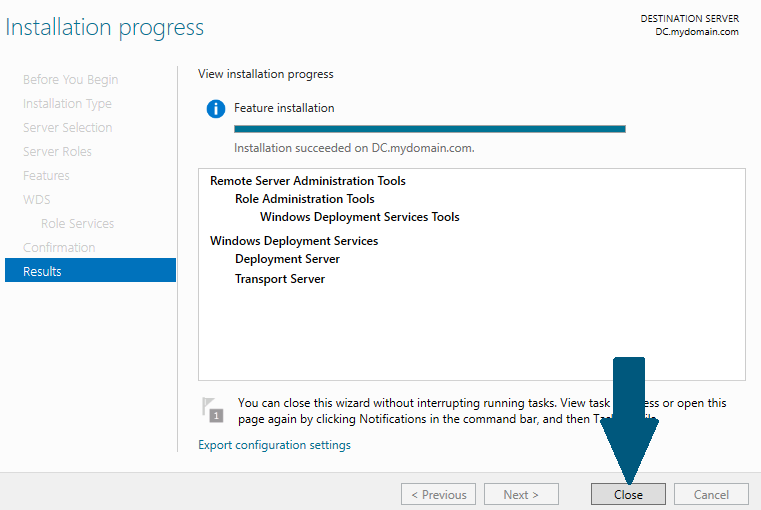
Step 11: When an installation is succeeded click Close.
Configuring Windows Deployment Server
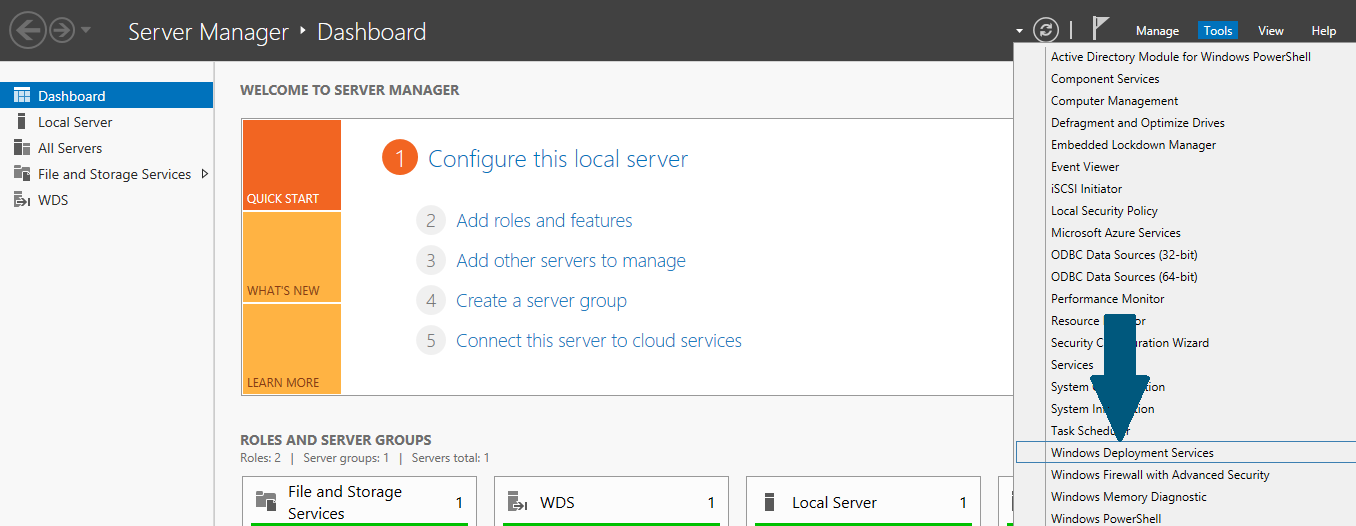
Step 1: Open the Server Manager Dashboard, click on Tool and scroll down to Windows Deployment Services and click it.
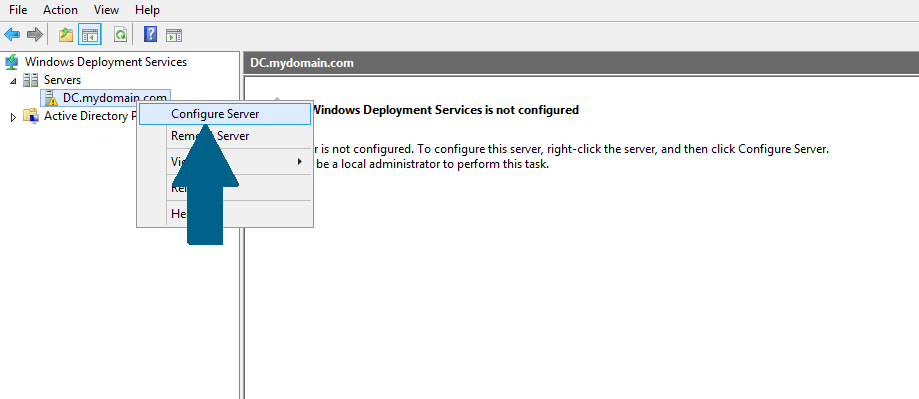
Step 2: Right-click on your machine located under Servers. Scroll to Configure Server and click it.
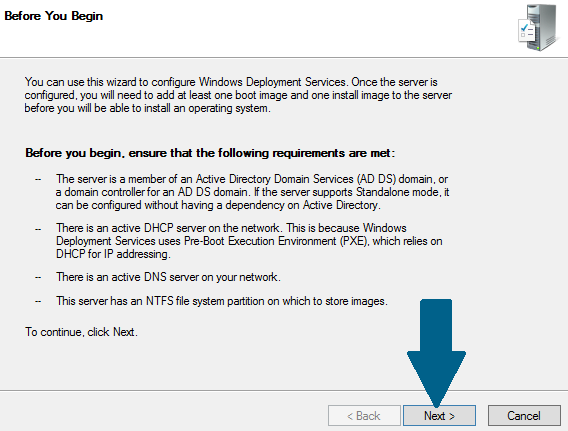
Step 3: Before you continue further read the requirements and make sure you meet them. Click Next.
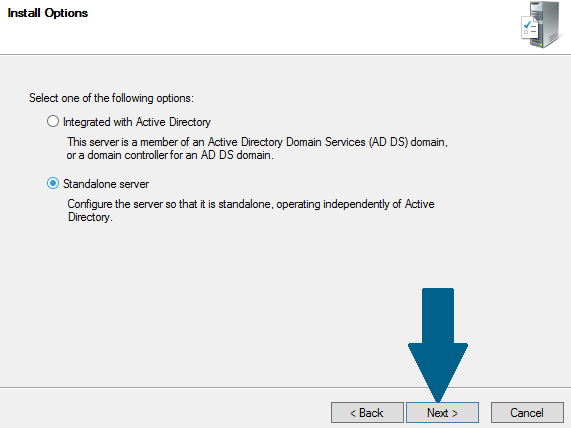
Step 4: Choose Standalone server and click Next.
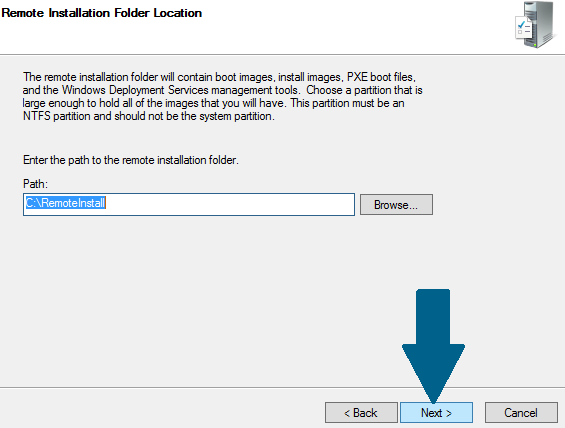
Step 5: Browse and choose the path on your drive where you would like to place boot images, install images, PXE boot files, and other WDS tools. Click Next.
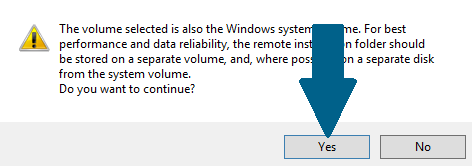
Step 6: Ignore the warning and click Yes.
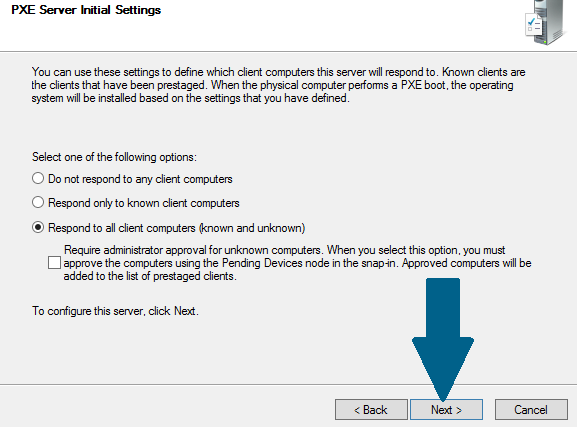
Step 7: Choose Respond to all client computers (known and unknown) and click Next.
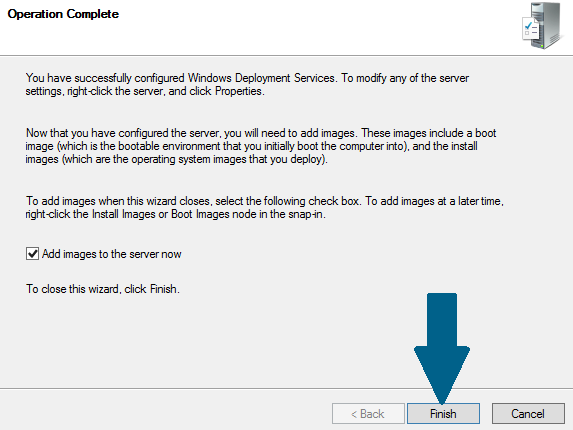
Step 8: Add images to your WDS server by keeping Add images to the server now field checked. Click Finish.
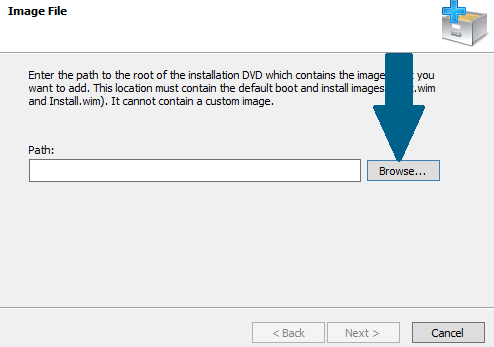
Step 9: Provide the path of your installation DVD which contains boot.wim and install.wim. Click Browse.
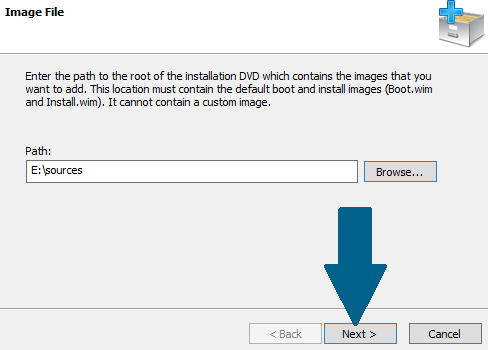
Step 10: Choose sources folder and click OK.
Step 11: Accept the path and click Next.
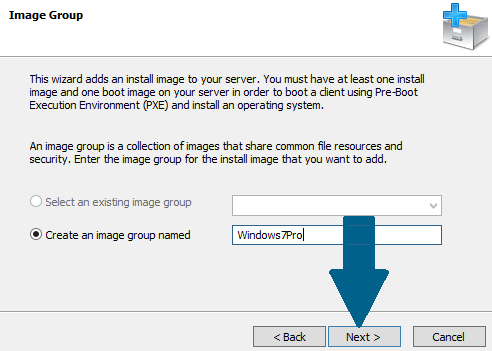
Step 12: Provide an image group name and click Next.
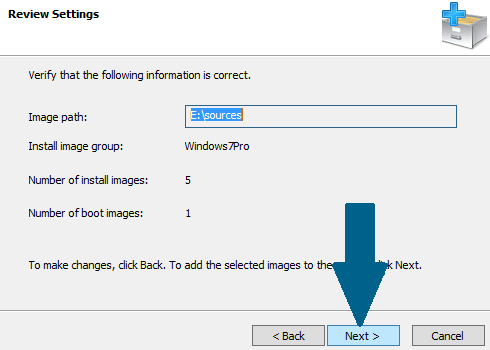
Step 13: Verify the information and click Next.
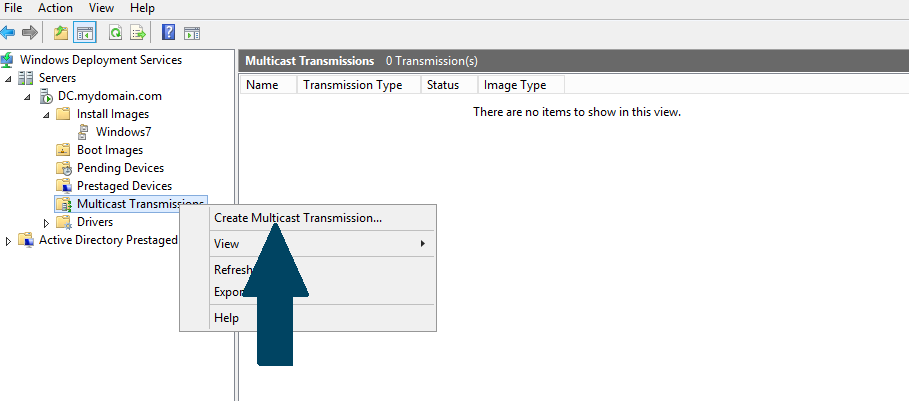
Step 15: Right-click Multicast Transmission, scroll to Create Multicast Transmission and click it.
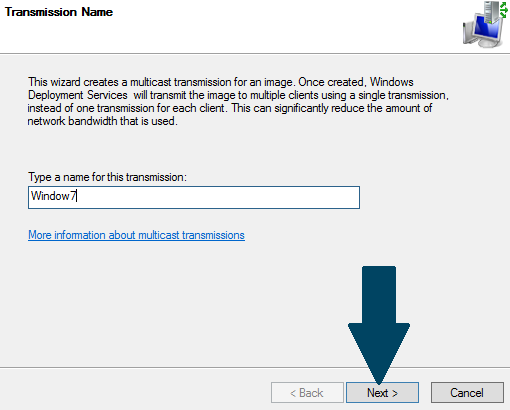
Step 16: Provide the name of this transmission and click Next.
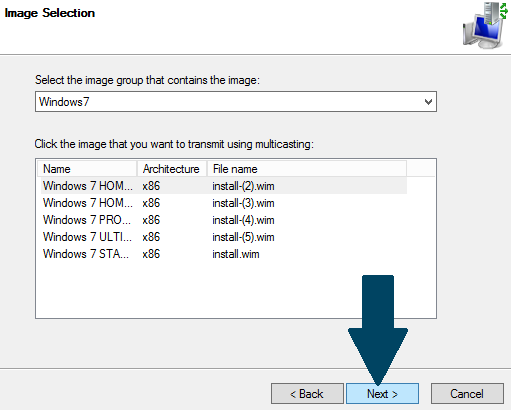
Step 17: Choose the image you would like to transmit using multicasting and click Next.
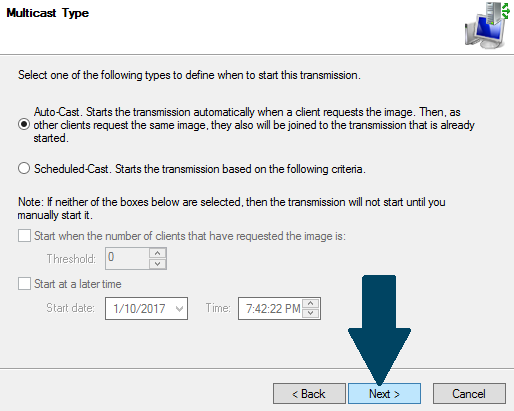
Step 18: Choose Auto-cast and click Next.
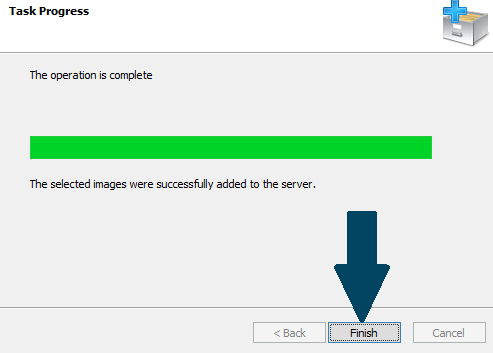
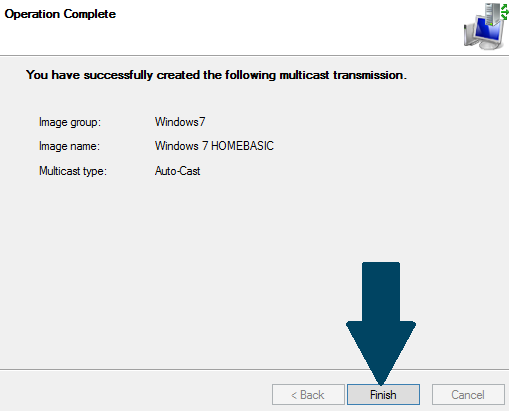
Step 19: Click Finish.
Configuring DHCP Scope Options
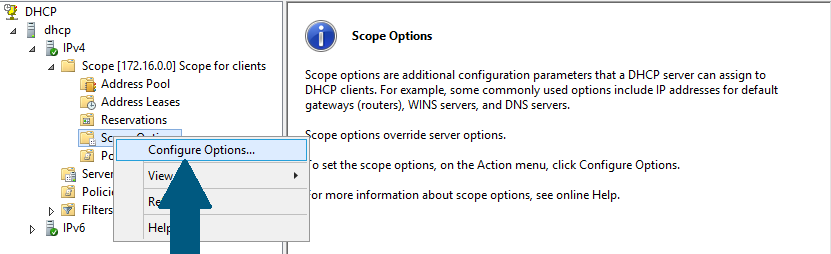
Step 20: Go to your DHCP server, expand IPv4 node. Right-click Scope Options and then click Configure Options.
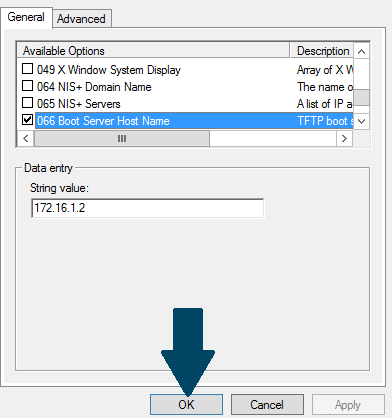
Step 21: Locate option 66 and check it. Provide an IP address of WDS server in String value and click OK.
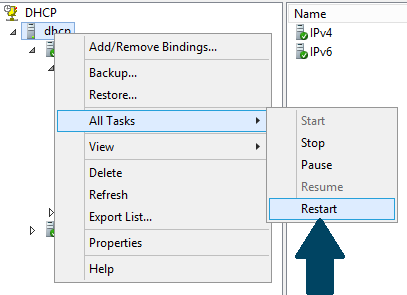
Step 22: On DHCP server console, right-click your dhcp -> All Tasks -> click Restart.
You are done with configuring WDS and a scope option on DHCP server. Restart your DHCP service. Take a client machine, and boot it it trough the network boot option and check that your configuration is working.